
Introduction: Unlock Your Firestick’s Full Potential with Kodi
Your Amazon Firestick is a fantastic device for accessing popular streaming platforms, but its true power lies just beneath the surface. By installing Kodi, a versatile and open-source media center application, you can transform your Firestick from a simple streaming stick into a fully customized entertainment hub. This guide will walk you through every step of the process, turning a potentially complex task into a simple, manageable project.
What This Guide Covers
This article provides a complete, beginner-friendly walkthrough for installing Kodi on any Amazon Fire TV device, including the Firestick 4K, Firestick Lite, and Fire TV Cube. We will cover the essential preparations, the safest and easiest installation method, initial setup, and how to start enhancing your experience with legal add-ons. We’ll also touch upon crucial security practices to ensure your streaming is both private and safe.
Who Is This Guide For? (Absolute Beginners)
This guide is designed specifically for individuals with little to no technical experience. If you know how to use your Firestick remote and can follow clear, step-by-step instructions, you have all the skills needed to successfully install Kodi. We avoid technical jargon wherever possible and explain every action in detail, ensuring you feel confident from start to finish.
Understanding Kodi: Your Personal Media Center Explained
Before we dive into the installation, it’s important to understand what Kodi is and why it’s such a valuable addition to your Firestick. This knowledge will help you make the most of its powerful features.
What Exactly is Kodi? (A Powerful, Open-Source Media Player)
Kodi is a free, open-source software application developed by the Kodi Foundation. It’s not a streaming service like Netflix or Hulu; rather, it’s a media player that organizes and plays your personal content—videos, music, podcasts, and photos. Its real strength comes from its extensibility. Kodi can be enhanced with a vast library of add-ons that connect it to various online services and content sources. Originally created for the Xbox, Kodi is now available on numerous operating systems, including Android (which powers the Firestick), Windows, Linux, and more, making it a universal solution for media management.
Why Kodi is a Game-Changer for Your Amazon Firestick
The Amazon Fire TV ecosystem is excellent but also restrictive. It primarily promotes content from Amazon and its partners. Installing Kodi breaks down these walls. It provides a single, unified interface to access a much broader universe of content, from obscure indie films to international news channels. It allows you to centralize your media, customize the look and feel of your interface, and access features not available on the standard Firestick OS. It effectively supercharges your device, making it more powerful and versatile than ever before.
Demystifying Key Terms: Add-ons vs. Builds (and Why It Matters)
As you explore Kodi, you’ll encounter two key terms: “add-ons” and “builds.” Understanding the difference is crucial for a safe and stable experience.
- Add-ons: Think of these as individual apps for Kodi. Each add-on provides a specific function, such as accessing YouTube, listening to a podcast service, or streaming content from a particular source. You can install official add-ons from the Kodi repository or third-party ones from other sources.
- Kodi Builds: A build is a complete package that includes Kodi, a custom skin (theme), and a pre-selected collection of popular add-ons. While convenient, builds can be bloated, slow down your Firestick, and may contain broken or unsafe add-ons. For beginners, it’s highly recommended to start with a clean Kodi installation and add individual add-ons as needed.
Essential Pre-Installation Steps: Preparing Your Firestick for Kodi
Before you can install Kodi, you need to adjust a few settings on your Firestick. These steps are simple but absolutely necessary for the installation to work.
Step 1: Allow Apps from Unknown Sources (The Crucial First Step)
By default, the Firestick only allows installations from the Amazon Appstore. Since Kodi isn’t available there, you must enable a setting that permits “sideloading,” which is the process of installing applications from other sources.
1. From the Firestick home screen, navigate to Settings (the gear icon).
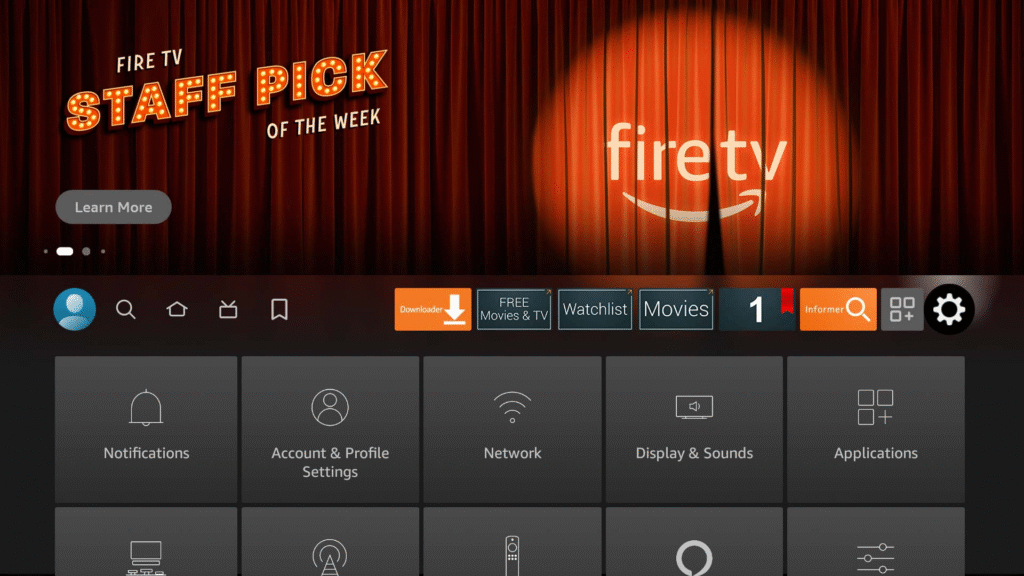
2.Scroll down and select the “My Fire TV” menu if you are using a Fire TV Stick or Fire TV Cube, or the “Device & Software” menu if you are using a Fire TV Smart TV.
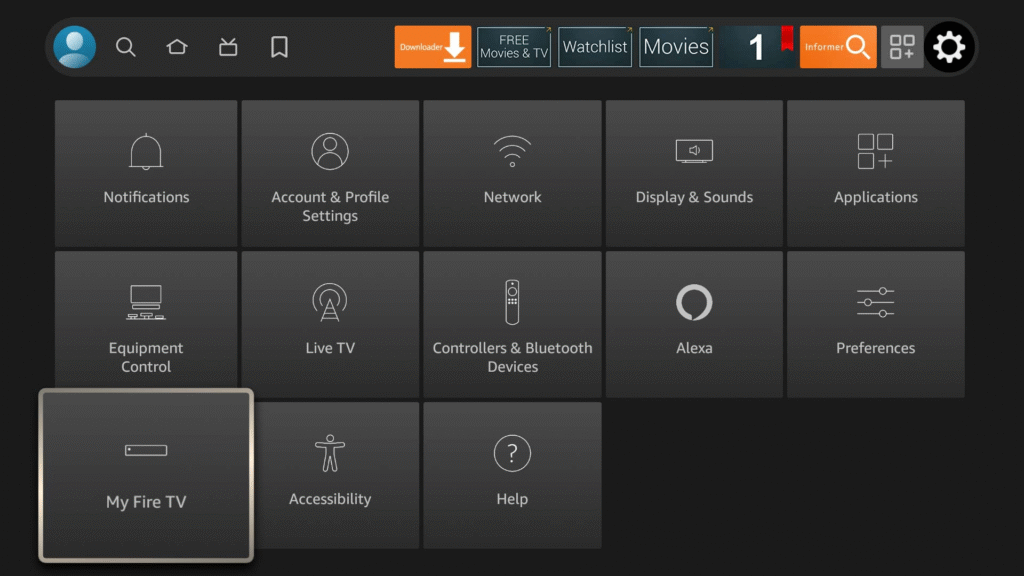
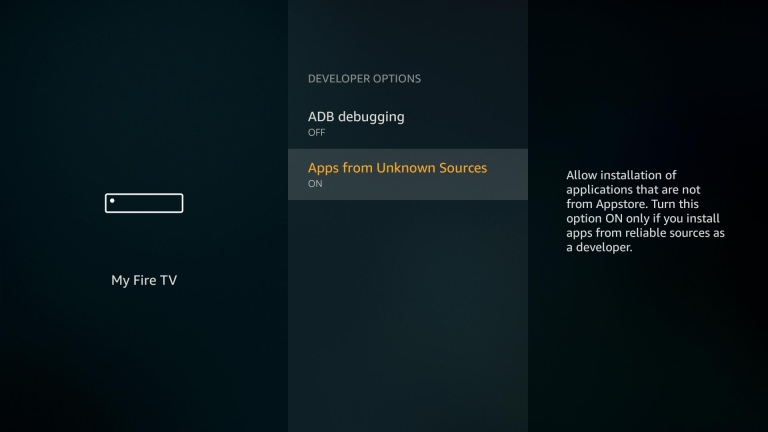
3.Select the “Developer options” menu. If “Developer options” is missing, then see this guide to reveal the menu before continuing with this guide.
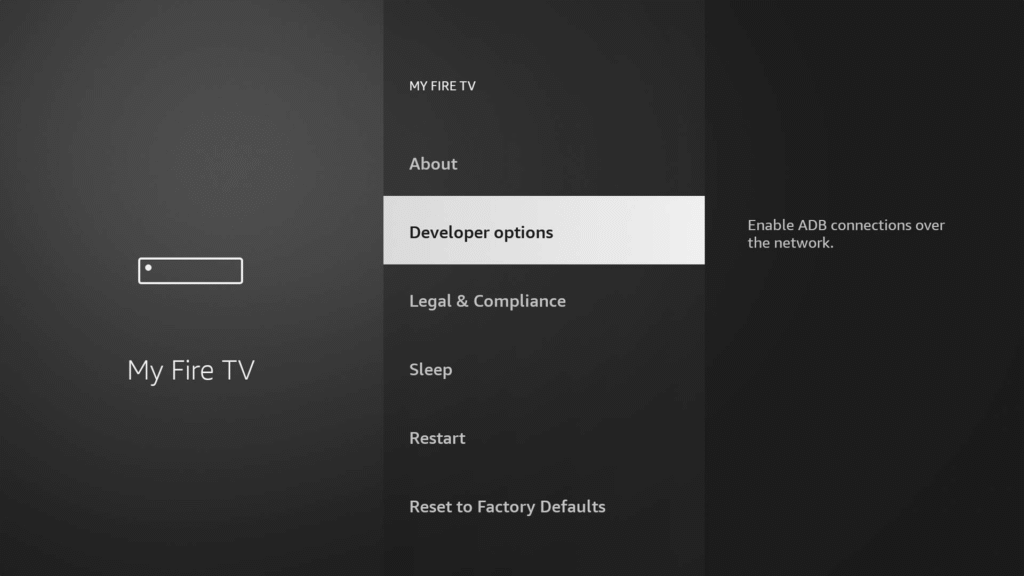
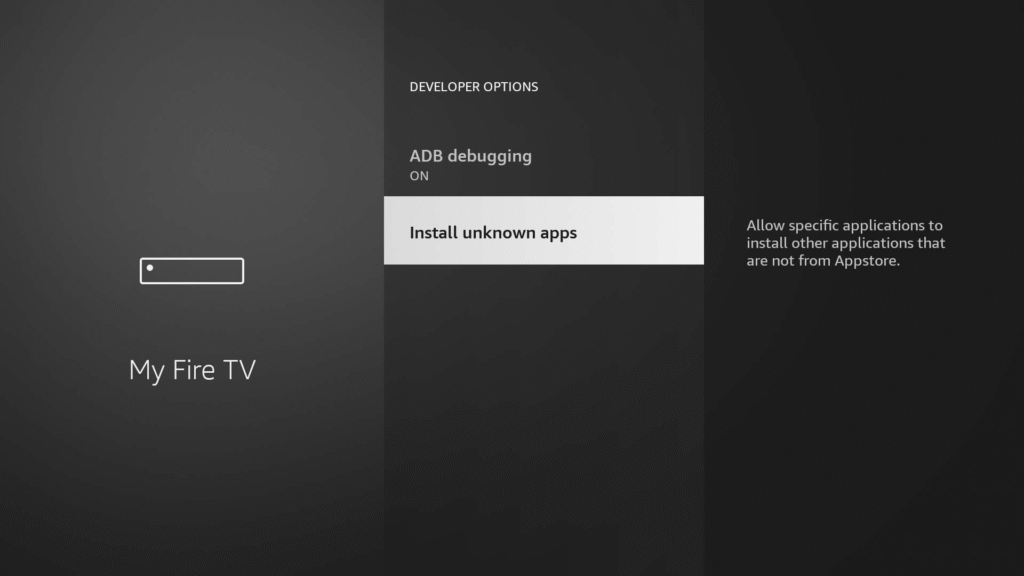
4.If the bottom option is labeled “Apps from Unknown Sources” then select it to turn it ON and you’re done. Otherwise, if the bottom option is labeled “Install unknown apps” then continue to the next step.
5.Select the “Install unknown apps” menu option.
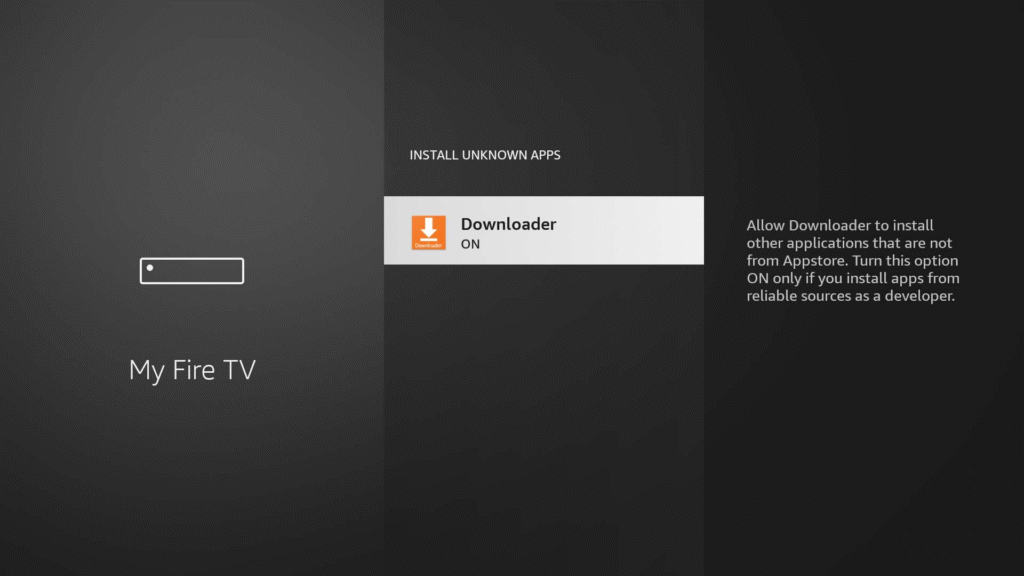
6.Select the app name, such as Downloader, to allow that app to install app APK files.
Step 2: Install a Reputable VPN (Protect Your Privacy & Bypass Geo-restrictions)
Using a Virtual Private Network (VPN) with Kodi is strongly recommended. A VPN encrypts your internet traffic, hiding your streaming activity from your Internet Service Provider (ISP). This prevents potential throttling (slowing down your connection) and protects your privacy. Furthermore, VPNs allow you to bypass geo-restrictions, giving you access to content that might be blocked in your region. Services like ExpressVPN are popular choices for Firestick users due to their speed and ease of use. You can find VPN apps directly in the Amazon Appstore.
Step 3: Clear Firestick Storage (Ensure Smooth Installation and Performance)
The Firestick has limited internal storage. Before installing a new application like Kodi, it’s a good practice to free up space by uninstalling unused apps. This ensures a smooth installation and better performance afterward.
- Go to Settings > Applications > Manage Installed Applications.
- Select any apps you no longer use and choose Uninstall.
Method 1: Installing Kodi Using the Downloader App (The Easiest & Recommended Way)
The most straightforward method for installing Kodi on a Firestick is by using the Downloader app. This app is a combination of a web browser and a file manager, designed specifically for sideloading.
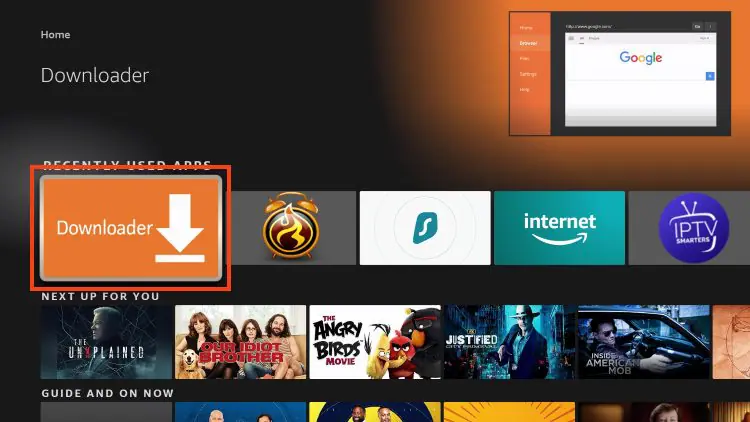
Step 1: Install the Downloader App on Your Firestick
First, you need to get the Downloader app from the Amazon Appstore.
- From the Firestick home screen, navigate to the Find tab and select Search.
- Type “Downloader” and select it from the search results.
- Click the Download or Get button to install the app.
Step 2: Download the Latest Kodi APK File
Now, use Downloader to fetch the Kodi installation file (known as an APK for Android apps).
- Open the Downloader app. You may see a welcome prompt; click Allow.
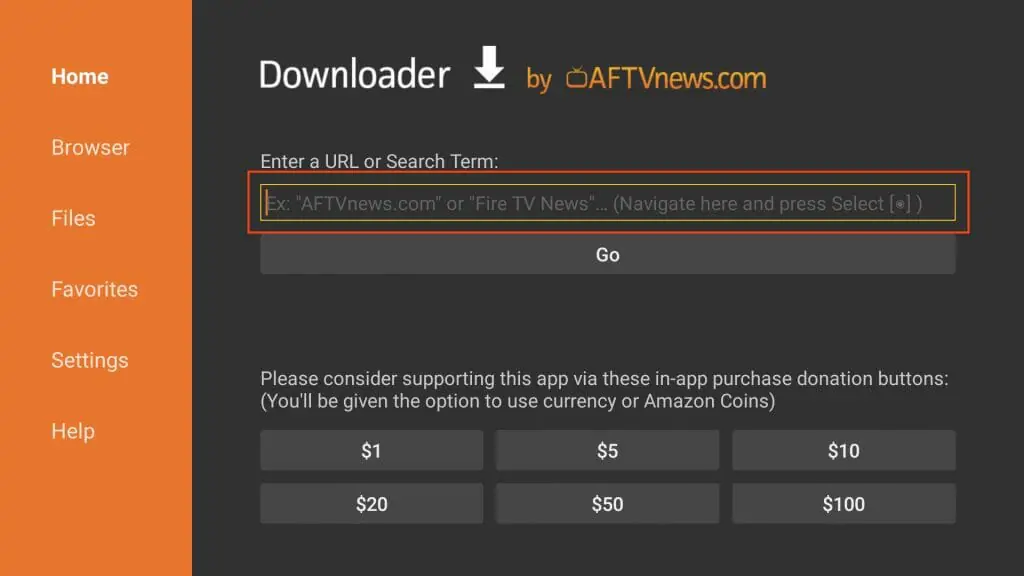
- In the URL entry box on the home screen, type the official Kodi download shortcut: kodi.tv/download and click Go.
- The official Kodi downloads page will load. Scroll down and click the Android logo.
- You will be presented with several options. The Amazon Firestick uses a 32-bit processor. Select the ARMV7A (32BIT) version to start the download.
Step 3: Install Kodi on Your Firestick
Once the download is complete, the installation process will begin automatically.
- Downloader will launch the installation screen for the Kodi APK file you just downloaded.
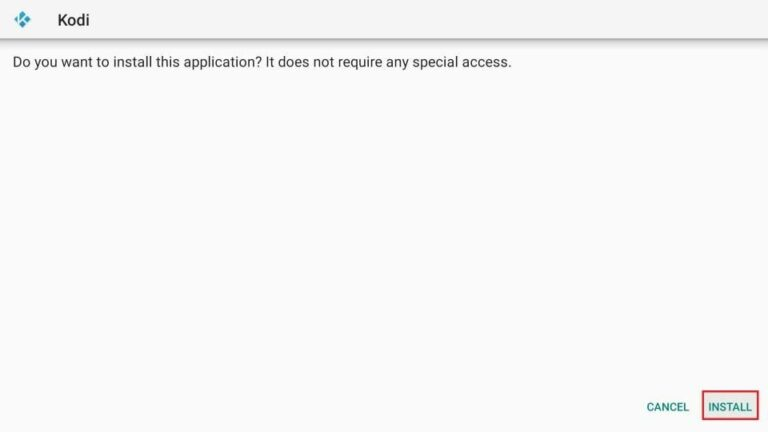
- Click Install in the bottom-right corner.
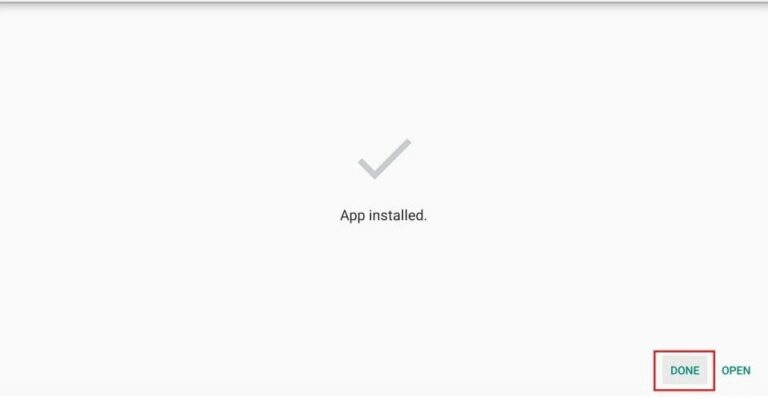
- Wait for the installation to finish. A message will appear saying, “App Installed.”
- Click Done. Do not click Open yet.
Step 4: Delete the Kodi APK File (Free Up Space)
You will be returned to the Downloader app, where a pop-up will appear. It’s crucial to delete the installation file to save precious storage space on your Firestick.
- On the pop-up, click Delete.
- Confirm by clicking Delete again.
You have now successfully installed Kodi and cleaned up the installation file.
If the text guide wasn’t clear, just follow the images below.
Install the Downloader app on your device. If you haven’t installed it yet, refer to our tutorial below.
Select the URL bar to open the keyboard.
Write the URL : https://kodi.tv/download
The download will initiate automatically. After it completes, select Install located in the bottom-right corner.
After the app finishes installing, you’ll get a notification. At the bottom, you’ll see Done and Open. Tap Done if you want to launch it later, or tap Open to start using it now.
Your First Steps with Kodi: Initial Setup and Navigation
With Kodi installed, it’s time to launch it and get familiar with its interface. The initial setup is straightforward and only needs to be done once.
Launching Kodi for the First Time
Navigate to your Firestick’s Apps & Channels section (the icon with three squares and a plus sign) and find Kodi. You can press the menu button on your remote to move it to the front of your app list for easy access. Click to open it.
Granting File and Media Permissions
The first time you launch Kodi, it will ask for permission to access photos, media, and files on your device. This is necessary for Kodi to manage your media libraries and save settings. Click Allow. Kodi will then take a moment to prepare its files for the first run.
A Quick Tour of the Kodi Interface (Home Screen, Main Categories)
The default Kodi interface (named “Estuary”) is clean and organized. On the left side, you’ll see a vertical menu with main media categories like Movies, TV shows, Music, and Add-ons. As you highlight a category, the main part of the screen will display related content or sub-menus. The gear icon at the top provides access to the settings menu.
Basic Navigation Controls on Firestick Remote
Your Firestick remote works seamlessly with Kodi. The directional pad is used for navigation up, down, left, and right. The center select button is your “enter” or “OK” key. The back button takes you to the previous screen or menu, and the home button will exit Kodi and return you to the Firestick home screen.
Understanding Kodi’s Settings Menu (Basic Configuration)
The Settings menu (gear icon) is the control center for Kodi. Here you can configure everything from the interface appearance and language to playback settings and system performance. For beginners, the most relevant sections are Player (for adjusting video and subtitles settings), Interface (for changing skins and themes), and File Manager (for adding media sources).
Enhancing Your Kodi Experience: Exploring Add-ons and Builds
A clean installation of Kodi is a blank canvas. Its true potential is unlocked through add-ons, which connect you to a world of content.
The Power of Kodi Add-ons: Extending Functionality
Kodi add-ons are small programs that expand what Kodi can do. They can provide access to specific streaming platforms, news services, cloud storage, or utility tools. It’s crucial to distinguish between official add-ons, which are vetted by the Kodi team, and third-party add-ons from other developers, which may carry risks of malware or access copyrighted content illegally.
Installing Your First Official Add-ons (A Safe and Simple Example)
Let’s install a simple, safe, and useful add-on from the official Kodi Repository.
- From the Kodi home screen, navigate to Add-ons.
- Select Download.
- Choose Video add-ons.
- Scroll through the list to find an add-on like YouTube or Pluto TV.
- Select the add-on, and on the next screen, click Install.
- A dialog will show the additional add-ons that will be installed. Click OK.
- Once installed, you can find your new add-on in the Add-ons section.
Understanding Kodi Builds: A Pre-configured Experience
As mentioned earlier, Kodi Builds are all-in-one packages that dramatically change the look of Kodi and come pre-loaded with numerous add-ons. While they offer instant customization, they can be resource-heavy for a Firestick, often causing performance issues. They may also include non-functional or malicious add-ons. It’s best to avoid them until you are more experienced with Kodi and can vet them properly.
Optimizing Kodi Performance on Your Firestick
To keep Kodi running smoothly on your Firestick, a little maintenance goes a long way.
Adjusting Kodi Settings for Smoother Playback
If you experience buffering, you can adjust the video cache settings. This requires an advanced add-on and is recommended for more experienced users. A simpler first step is to ensure your Firestick’s internet connection is strong and that your VPN server is set to a nearby location for optimal speed.
Deleting Unused Add-ons and Builds
Regularly review and uninstall any add-ons you no longer use. They can run background processes that consume system resources.
- Navigate to Add-ons > My add-ons.
- Go to the relevant category (e.g., Video add-ons).
- Select the add-on you wish to remove.
- Click Uninstall.
Conclusion
Congratulations! You have successfully installed Kodi on your Firestick, transforming it into a more powerful and versatile media center. You’ve learned how to prepare your device, perform a safe installation using the Downloader method, navigate the interface, and install your first official add-ons.
Your journey with Kodi is just beginning. The next steps are to continue exploring the vast library of official add-ons, learn how to add your own local media libraries, and customize the interface to your liking. Always prioritize your security by using a reputable VPN and sticking to well-regarded add-ons. By building your Kodi setup one piece at a time, you’ll create a stable, personalized, and endlessly entertaining media hub perfectly suited to your needs. Enjoy your newly supercharged Firestick